

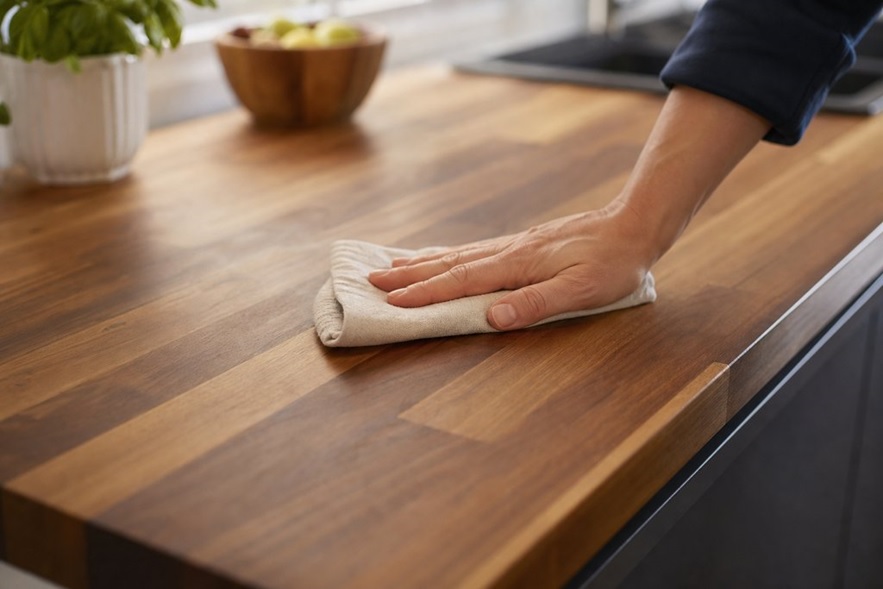
Butcher block kitchen countertop
If you have a wood countertop project planned or are simply dreaming about wood countertops, it’s worth knowing what they require before they arrive, during installation, and long after finishing. Here are some of the basics.
Check Cabinets Before Setting the Countertop
Wood has lots of strengths. It looks good, feels good, and can take a beating. In particular, butcher block countertops offer lots of benefits. Made up of narrower pieces of wood joined together, butcher block counters have the look of one large slab. End-grain butcher block, which shows the ends of cuts, may work best in food-prep areas. Meanwhile, edge-grain and face-grain counters feature longer runs of wood for a more continuous look.
Wood also has some weaknesses: It absorbs moisture and warps with changes in humidity. It needs special attention during installation to protect both the investment and your kitchen. The team at Kitchen Remodeler Davie encounters the same movement and moisture concerns.
- Check that cabinets are square and level. Use a long straightedge to check for dips, high spots, loose areas, and gaps to walls. Block or shim low areas before setting the countertop. If the cabinets are not level, no countertop will look its best.
- Check that all the cabinet wall joints line up and that they are snug to the walls.
- Check that the walls are plumb. If a wall bows or is crooked, plan for how it will be filled later. You will not want to be measuring the gap on the day of installation.
- Evaluate whether any overhang longer than 10“ will need brackets or other support.
- Check that the added countertop thickness won’t block cabinet doors and drawers.
- Plan where sinks, faucets, cooktops, and other cutouts will go.
- Lay out where seams will fall on the countertops and make sure they don’t fall in or near a cutout.
- Plan ahead if any part of the countertop can be temporarily lifted up.
- Choose fasteners that allow the wood to shift in width as humidity changes. Wood moves. If you can’t let it move, it will push against cabinet walls and pressure will result in splitting, buckling, or bowing.
- Plan your finishing and maintenance strategy. If the butcher block will be a food-prep surface, a food-safe finish as discussed here is important. If you want to protect your investment in countertops, plan to wipe up spills and standing water and never leave a dish or pot standing in a puddle in the sink.
Choose Fasteners That Allow Movement
If a countertop is built with more than one piece and joined with a butt seam, there is the opportunity for misalignment as the wood expands. Slotted holes for screws and tabletop fasteners allow the wood to move without falling off the cabinets. Some companies make brackets for this purpose; the practical side of butcher block countertop installation Davie starts there. If the countertop is just a small accent or shelf and removable, fasteners that allow movement are not as critical.
Remember that butcher block countertops are usually fastened from below. This makes it tricky to make sink, faucet, outlet, or cooktop cutouts. Sealing all the newly cut wood with an appropriate sealer can keep the countertop from absorbing moisture. This is especially important where the sink drains down. Sealing the inside and outside of the sink cutout helps prevent water from damaging the counters and cabinets below.
If the sink leaks into the cutout, it’s likely that the countertop will absorb the water and swell. Once this has happened, the finish may fail and the damage may be permanent.
Make a Maintenance Plan Before Installation Day
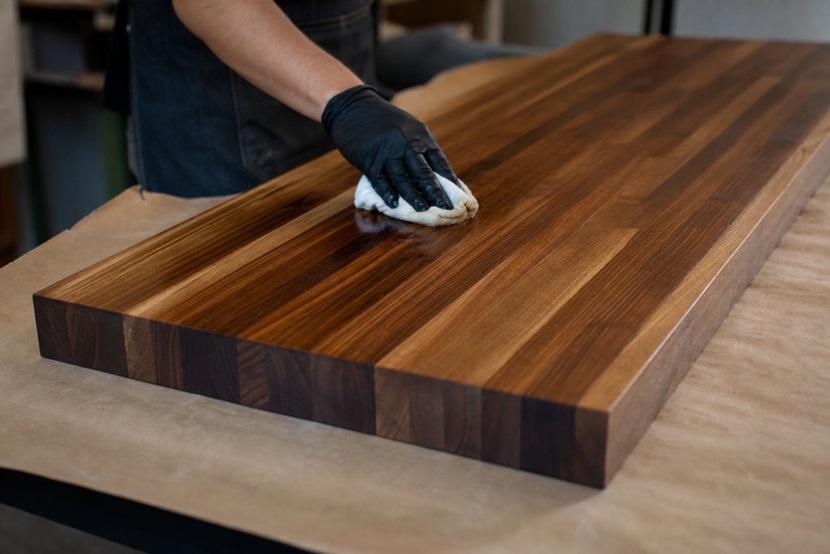
Finished wood countertop surface
A maintenance plan is essential before the counters are installed because the finish needs to be applied all around a butcher block countertop.
- Oil finishes allow you to spot-repair a surface, but need to be reapplied regularly. If this is more maintenance than you want to do, a film finish will be harder to maintain, but offers better protection against stains.
- Any cutouts or drilled holes for sinks and faucets should be filled in, sanded, and cleaned of dust before applying the finish.
- Apply the finish to the top and sides and any cutouts for sinks, faucets, etc.
- Finish the underside of the countertop too, to prevent the wood from absorbing moisture unevenly.
- When the countertop is in place, be mindful of the seams, the backsplash, and the sink cutouts. Don’t allow water to pool around seams and where it can seep into the backsplash or sink cutout.
- Use trivets so as not to scorch the countertops with hot pans.
- Only cut food items on the designated food-prep area.
Scratches will happen on wood, and they are easier to fix when there’s time. Address them before moisture has a chance to get into the wood fibers.
Before you install the butcher block, you should leave it lying flat (on spacers to allow for air circulation), in the room where it will be used for several days to let it adjust to the typical kitchen temperature and humidity. Don’t leave it against the wall or in a plastic bag. This will help minimize any surprises after it’s cut to fit.
Pay special attention to the areas around the dishwasher and the oven. Always add a protective heat-resistant layer under the counter, leaving a small gap between the kitchen appliances and wooden countertops. Rising steam can deteriorate the finish and, eventually, the wood can start to darken.
How Should the Final Fit and Finish Work?
- If the butcher block counters were sanded before going to the site, there may be more sanding needed to smooth seams and cutouts. Sand any new cutouts before applying a sealer.
- Dry fit the countertop so you know how the grain matches up, and where seams should fall, where cutouts go, where it will be supported, etc. Mark where to drill from below so as not to guess at where to attach.
- Remove the countertop and apply the finish to cutouts, the top, and edges, and any area you sanded. Finish the underside before setting the countertop into place.
- Set the countertop down on the cabinets and fasten from below through slotted holes. You don’t want to restrict the wood’s movement (britannica.com/science has the sober version of this) and limit options for repair. Glue will also restrict movement.
