

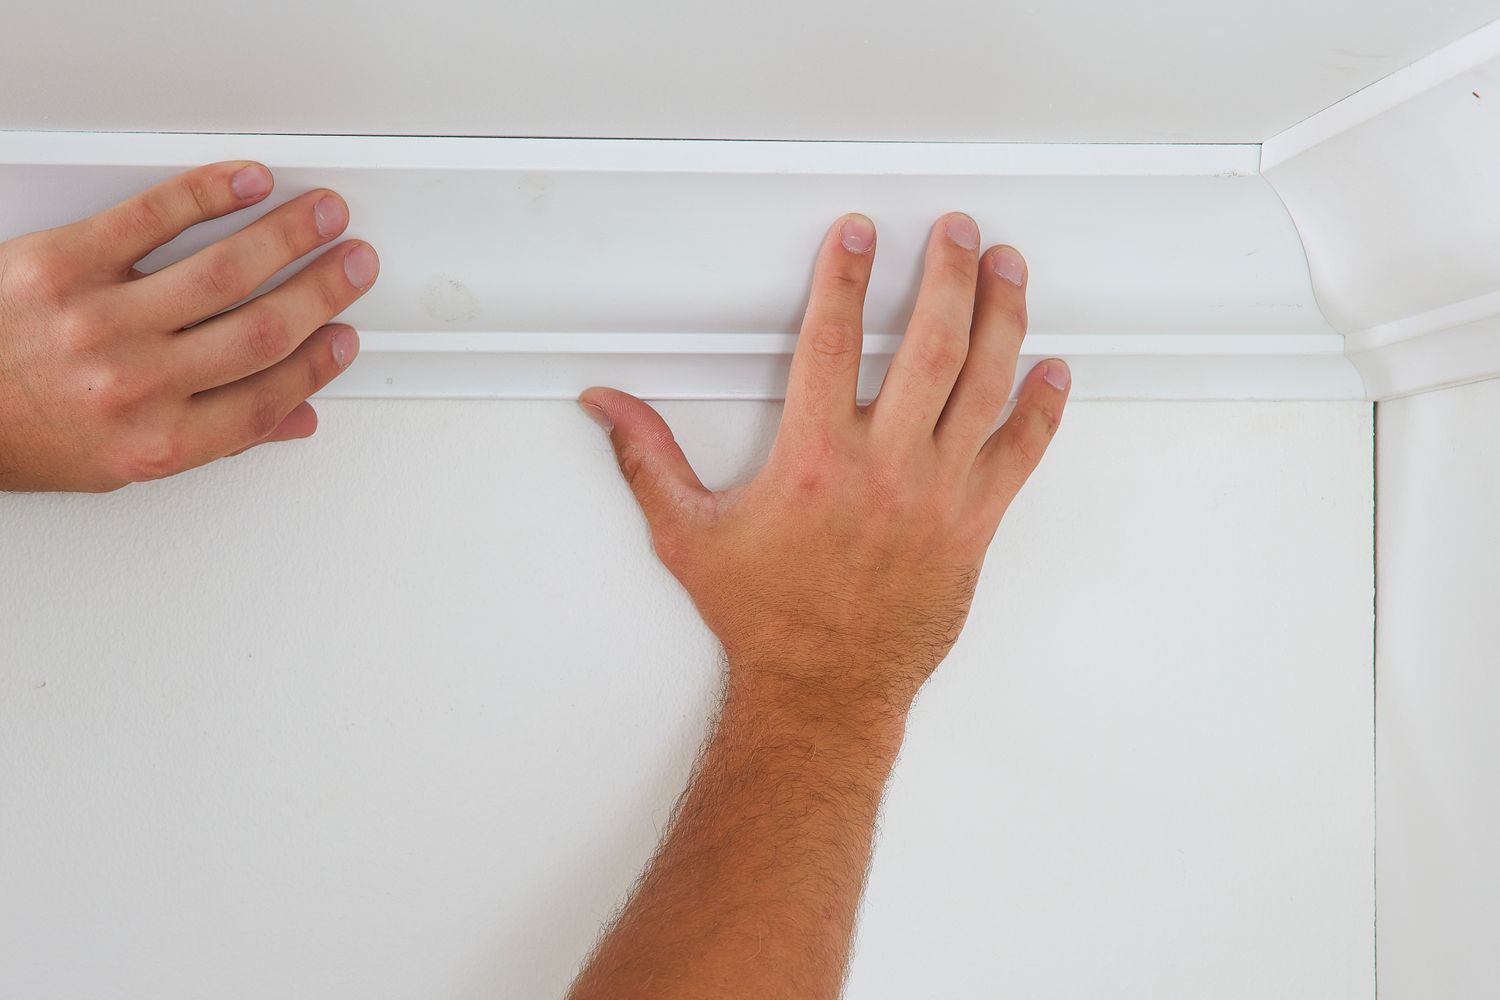
Wall molding adds depth and structure to plain rooms. In Thai homes, many walls are rendered concrete or brick, and a well-fitted profile can turn a flat surface into a feature wall in a weekend. Poor installation leaves gaps, crooked lines and joints that crack within months.
Most problems come from rushed preparation, not difficult technique. Follow the steps below, and your wall molding (known as บัวผนัง in Thai) will look neat and stay that way.
Choose the Right Material for Thai Conditions
Thailand’s heat and humidity are hard on interior finishes. Solid timber can swell during the rainy season and shrink in air-conditioned rooms, which opens up joints. It also attracts termites. For most houses and condos, polyurethane (PU) or PVC wall molding is the practical choice. Both resist moisture, stay stable and are light enough to fix with adhesive alone. MDF works in dry rooms, but avoid it in bathrooms, kitchens and ground-floor rooms prone to damp.
Let the Material Acclimatise
Store the lengths flat in the room for 24 to 48 hours before cutting. Run the air conditioning at its usual setting so the moulding adjusts to the conditions it will live in.
Prepare the Wall
Check the wall with a long spirit level. Rendered walls in Thai buildings are often uneven, so mark the high and low spots. Sand down bumps, fill hollows and let the filler dry fully. Wipe away dust, and treat any mould or damp patches before you start. Adhesive will not hold on a dusty or wet surface.
Plan the Layout First
Measure the wall and sketch the panel layout on paper. Keep the spacing between panels equal, and leave consistent margins from the ceiling, skirting and door frames. Transfer the lines to the wall in light pencil using a laser level or chalk line. Never rely on the ceiling or floor as a reference, because they are rarely straight.
Cut Accurately
Use a mitre box or mitre saw for clean 45-degree corners. Cut a test joint on offcuts first. Measure twice, cut slightly long, then trim to fit. A fine-toothed blade reduces chipping on PU and PVC profiles.
Fix with the Right Adhesive
Apply a construction adhesive suited to your material in a continuous bead or zigzag along the back. Press each piece firmly onto the marked line. Use panel pins or masking tape to hold it in place while the adhesive cures. Add a small amount of adhesive to the mitre faces so corner gaps do not open later.
Fill, Caulk and Sand
Once the adhesive is dry, fill the pin holes with lightweight filler. Run a thin bead of paintable acrylic caulk along the top and bottom edges to hide small gaps against the wall. Smooth it with a damp finger, then lightly sand the filled areas.
Paint for a Seamless Look
Prime bare surfaces, then apply two coats of paint. Painting the moulding and wall in the same colour gives the modern, subtle look common in Bangkok condos. A contrasting shade suits classic or colonial-style houses. In humid rooms, use a washable, mould-resistant paint.
Final Checks
Step back and inspect the lines from several angles in daylight. Touch up any visible joints or uneven caulk. Careful preparation and patient finishing separate a professional result from an amateur one.
