

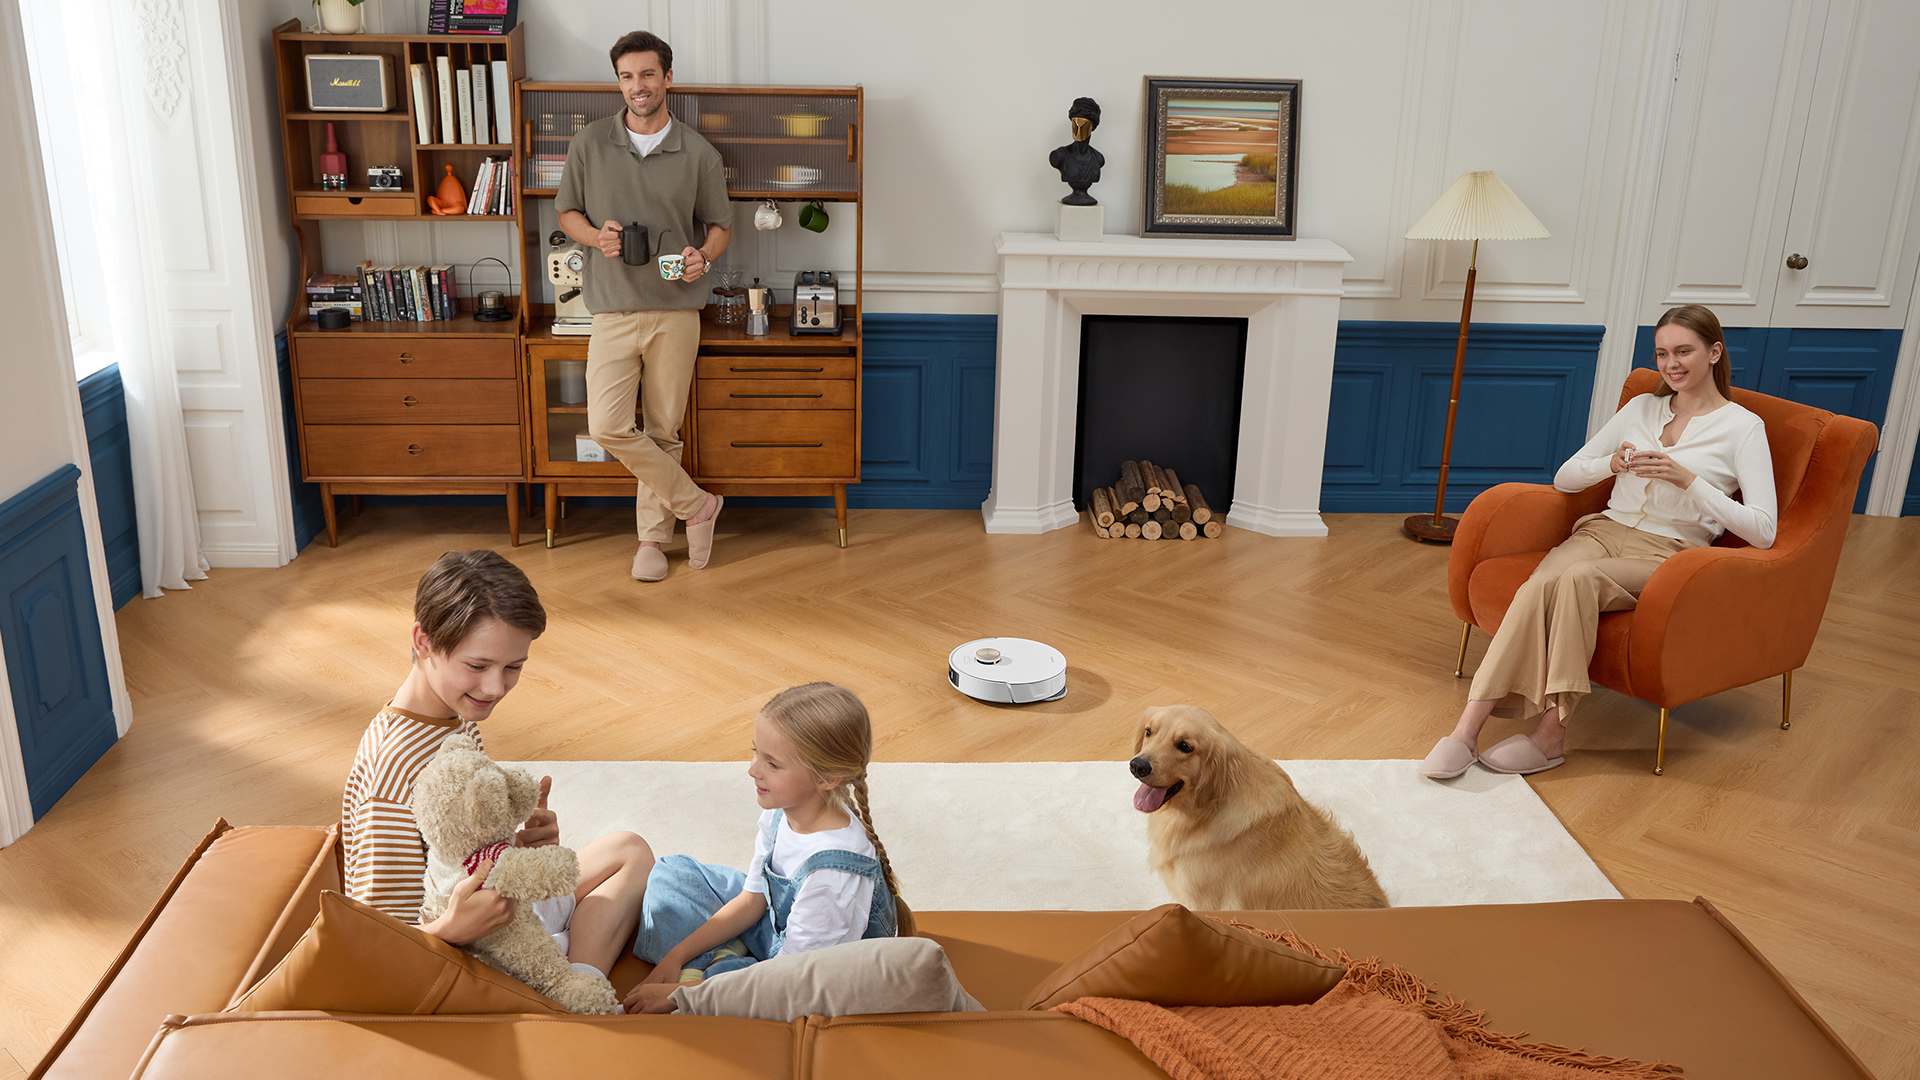
Achieving sparklingly clean floors is a cornerstone of a well-maintained home. While it may seem like a basic chore, the method you use can make the difference between a truly pristine surface and a floor that still feels slightly grimy. The debate between various cleaning tools and techniques is ongoing, but the classic two-step combination of vacuuming and mopping remains the gold standard for a deep, hygienic clean on nearly any hard surface.
Simply running a mop over a dirty floor or vacuuming without a follow-up wash will only get you halfway to your goal. True cleanliness requires a strategic approach that removes both dry debris and stuck-on grime. Understanding why this specific order matters and how to execute it perfectly is the key to an efficient routine and a flawless, professional-level finish.
This comprehensive guide will walk you through the correct process, explain the science behind it, and introduce modern tools that can make this essential chore easier than ever.
Why You Must Always Vacuum Before You Mop
The single most important rule of floor cleaning is to remove dry debris before introducing any moisture. Skipping the vacuuming step is a critical mistake that sabotages your cleaning efforts from the start.
When you apply a wet mop to a floor covered in dust, crumbs, pet hair, and other loose particles, you aren’t cleaning. Instead, you are creating a grimy slurry. The mop simply pushes this muddy mixture around, spreading the dirt instead of lifting it. This leads to a streaky, dull finish once the floor dries and can embed grime deeper into surfaces, especially textured floors or grout lines.
Furthermore, small particles of dirt and grit can be abrasive. Dragging them across the floor with a wet mop head essentially turns your mop into a piece of fine-grit sandpaper. This can cause microscopic scratches on your flooring, which accumulate over time and permanently dull the finish of surfaces like hardwood, laminate, and luxury vinyl tile. Vacuuming first removes these damaging particles, protecting your investment and preserving your floor’s beauty.
The Step-by-Step System for a Perfect Clean
For the most effective deep clean, follow this methodical five-step process.
1. Prepare the Room for Cleaning
Before you begin, do a quick sweep of the room to remove any clutter. Pick up shoes, toys, pet beds, and small rugs. This not only makes the process faster but also ensures you can clean every inch of the floor without obstruction.
2. Perform a Thorough Vacuuming
This is your most crucial preparatory step. Use a vacuum that is suitable for hard floors—ideally one with a dedicated hard floor head that uses soft bristles to avoid scratching. Work in a methodical pattern, such as parallel lines, ensuring you cover the entire surface. Use the crevice tool to get along baseboards, under cabinet edges, and in tight corners where dust bunnies love to hide. For daily upkeep that makes this deep-cleaning step much easier, a robot vacuum can be an invaluable tool, automatically managing dust and pet hair between your more thorough cleaning sessions.
3. Choose the Right Mopping Solution
Not all floors are created equal. Using the wrong cleaning solution can leave behind a sticky residue or even damage your floor’s surface. Always choose a cleaner that is specifically formulated for your flooring type (e.g., hardwood, tile, vinyl, laminate). When in doubt, a pH-neutral cleaner is a safe bet for most sealed surfaces. Mix your solution in a bucket according to the product directions; using too much concentrate is a common mistake that leads to a dull, hazy film.
4. Mop with Proper Technique
For a traditional mop, the two-bucket method is highly effective. Fill one bucket with your cleaning solution and the other with clean, plain water for rinsing. Dip the mop in the solution, wring it out until it is damp but not dripping wet, and mop a small section of the floor. Before dipping it back in the cleaning solution, rinse the dirty mop head thoroughly in the rinse bucket. This prevents you from contaminating your cleaning water and spreading dirt around. Work from the farthest corner of the room back towards the exit so you don’t have to walk over your freshly cleaned floor.
- Ensure the Floor Dries Properly
Leaving excess water to air-dry can lead to water spots and streaks, especially on high-shine floors. After mopping, you can go over the surface with a clean, dry microfiber cloth or a dry mop head to absorb any remaining moisture. This final pass polishes the floor and ensures a streak-free shine.
Advanced Tools That Streamline the Process
For those looking to save time and effort, modern technology has introduced hybrid devices that combine vacuuming and mopping into a single step. A wet dry vacuum is an all-in-one machine designed specifically for this purpose. It works by spraying a jet of clean water and cleaning solution onto the floor, scrubbing the surface with a brush roller, and immediately suctioning the dirty water up into a separate tank.
This method offers several advantages: it cuts your cleaning time in half, you are always cleaning with fresh water instead of a dirty mop, and it uses less water overall, leading to faster drying times. It provides a deep, sanitizing clean that is often more effective than traditional mopping, especially for heavily soiled floors.
By following this expert guide, you can perfect your floor cleaning routine, ensuring every vacuum and mop session leaves you with a brilliantly clean, hygienic, and beautiful home.
